
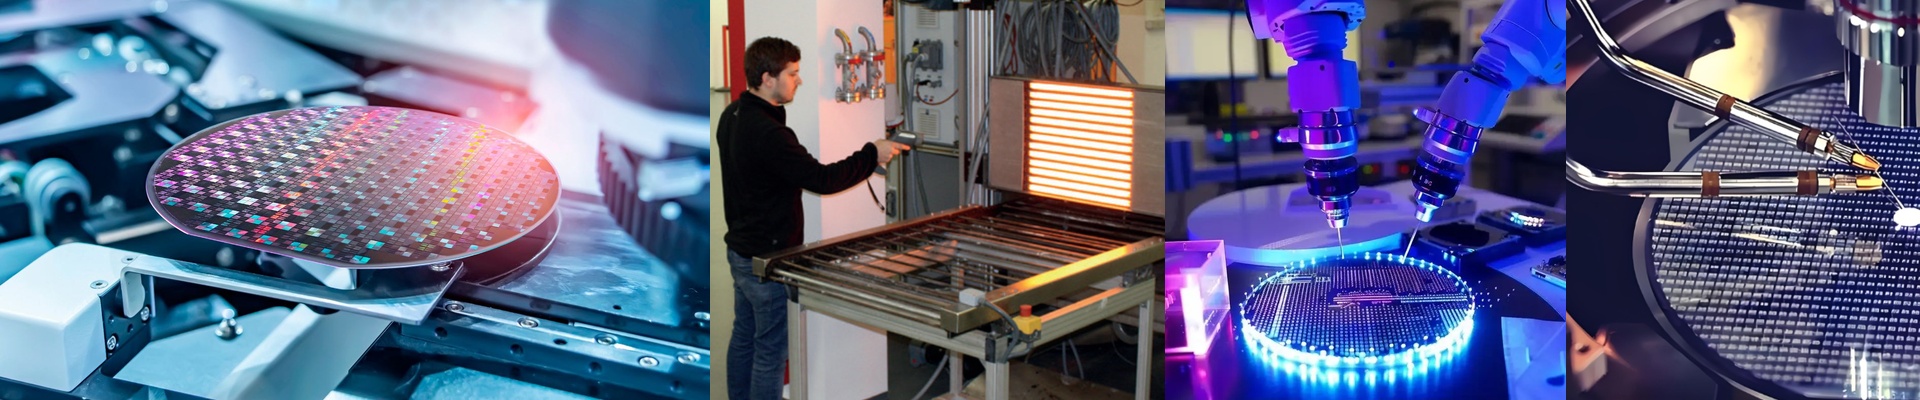

The wafer comes off the final rinse, and the clock starts ticking. Let it sit too long, or give it an uneven thermal profile during drying, and the solvent residue starts to shift around. Photoresist patterns soften. Critical dimension control slips. You see it later on the map—failures that look like dumb luck, when really they’re thermal non-uniformity doing its best impression of randomness. Wafer drying isn’t a passive checkbox. It’s a thermal process with a tight budget, and the infrared heater you run with sets the boundary conditions for yield.
What actually matters under the hood
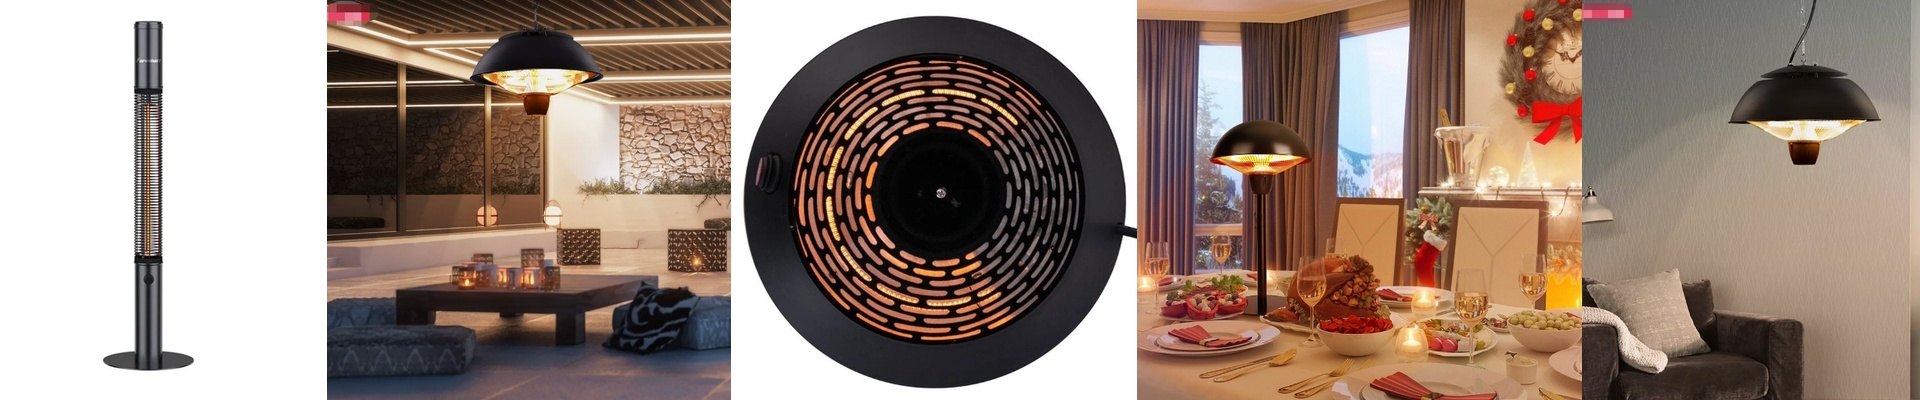
When we design wafer drying infrared heaters, we anchor to three outcomes you can measure: temperature uniformity across the wafer, particle control, and repeatability that holds up on a 24/7 schedule. The core is short-wave infrared, delivered through quartz elements. Short-wave IR heats fast and couples efficiently into thin films and residual moisture, so the drying window shrinks without overloading the substrate. Response is sub-second, which keeps the system from overshooting setpoints—critical when you’re drying patterned wafers with photoresist that can’t take thermal shock. Uniformity has to be specified at the wafer plane, not the heater surface. Across a 300 mm wafer, we target ±0.1 °C stability at steady state. You get there by matching element watt density, controlling spectral output with quartz purity, and running a closed-loop strategy that measures at multiple points and compensates in real time. The payoff is consistent drying from edge die to center die, so a cold spot doesn’t quietly steal your process window. Cleanroom compatibility is baked into the build. The heater body uses high-purity quartz and metallic components chosen for low outgassing. Surface finishes stay smooth, joints are minimized, and the geometry avoids trapping particles. In Class 1–100 environments, the design keeps particle generation near zero—because one submicron particle landing on resist can turn into a defect after exposure and development. Zero particle generation isn’t a slogan. It’s materials and airflow executed right. The heater integrates into laminar flow tool zones without stirring turbulence. No exposed threads. No porous insulation. No materials that shed under thermal cycling. Photoresist bake performance comes down to repeatability. Soft bake and hard bake both need stable plate temperatures with fast recovery after wafer insertion. Our infrared heaters hold setpoint within tolerance and recover quickly, so every wafer gets the same thermal dose. That repeatability cuts within-lot variation and keeps CD bias in line. Reliability is measured in uptime. Semiconductor tools run for years between maintenance windows, so we spec elements and drivers for long life. Units have run 5,000+ hours with less than 5% output drop, and the mechanical interfaces are engineered to handle repeated thermal cycles without drift. The goal is zero unplanned downtime—because every hour lost to a heater failure turns into missed lots.
Why this works in practice
In wafer drying, the failure mode is sneaky. You don’t get a loud alarm. You get drift—higher defect counts, more rework, and yield that never hits what the process should deliver. Infrared drying gives you control over the thermal budget. It knocks out the last rinse solvent quickly and evenly, without heating the chuck or the surrounding hardware. The wafer dries, the resist stays in spec, and the process stays in control. That control shows up where it counts.
- Higher yield: Uniform drying protects photoresist profiles, reduces footing and scum, and lowers particle-related defects. Fewer falls on the defect map, more good die per wafer.
- Tighter process control: When temperature is stable and repeatable, CD uniformity improves. You spend less time chasing bias across the lot and more time qualifying new layers.
- Lower operating cost: Infrared heats on demand. No idle power wasted heating a massive plate, no cooldown penalty. Energy use follows the process, not the calendar.
- Less maintenance: Clean construction and long-life elements stretch out preventive maintenance intervals. Fewer changeouts mean fewer contamination opportunities and fewer idle minutes on the tool. Out in packaging, when the fab hands off finished wafers to dicing and assembly, that same thermal discipline matters. Clean, dry wafers enter packaging without moisture-related failures, and the line keeps moving.
What you need to get right
Infrared heaters are compact, but they’re not plug-and-play unless you plan the integration.
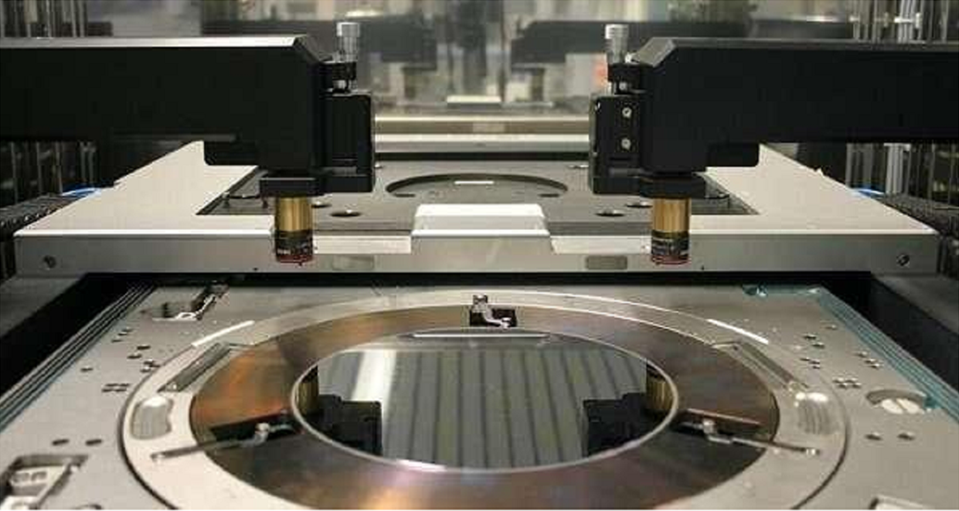
- Integration geometry: The heater footprint and mounting interface have to match the tool’s chamber design. Give the exact envelope, fastener locations, and access constraints early. Retrofits usually need a custom bracket or a modified sealing surface.
- Control compatibility: The heater expects a stable control signal and a closed-loop sensor strategy. If the tool is running an older controller with slow response, performance will fall off. Match the controller bandwidth to the heater response time.
- Cleanroom handling: Even with low-outgassing materials, sloppy handling during install can introduce particles. Use cleanroom-compatible gloves, work inside the tool’s clean zone, and verify particle counts after startup.
- Thermal load changes: Changing wafer sizes, film stacks, or resist thickness changes the thermal load. You can tune the system, but plan for a short qualification run when the product mix shifts. The trade-off is real: infrared gives you speed and uniformity, but it needs precise integration and calibration. Get that right, and the process settles into a steady cadence—wafers dry clean, resist stays within spec, and the line runs without thermal surprises. If your drying step is still wrestling with edge bead, scum, or random defects, the culprit may not be the chemistry. It may be the heat. Spec the infrared heater for the process, not just the tool, and the thermal budget stops working against you.